I got a chance to get a little work done Sunday on the pickup. There is no core support reproduced for the 65-66 2wd F100 pickups, but it doesn't take too long to make the 61-64 reproduction work.
The primary difference between the 61-64 and the 65-66 is the lack of support brackets for the inner fenders on the earlier trucks. Then, Ford changed the radiator mounts for 1966. Do what you want with the radiator support brackets. If they stay, buy a 65 radiator. Remove them and buy a 66 radiator.
First, to make it fit, you have to remove this bracket shown below:

It should be stubbier like this one:

If you are using this and want to keep the 65 style radiator mounts, you'll have to keep the original bracket and swap it over.
Then, I drilled out the spot welds holding the inner fender bracket to the original support. Usually, these are good enough to reuse. If it's really bad, it wouldn't take much to fabricate them out of some angled steel using the original as a pattern.
Next, I had to mock up the front end to find correct placement of the inner fenders:


I took an awl and scratched deep into the core support so that after removing the black primer from the support for welding, I'd still be able to find it.

I used a cupped wire wheel to clean off the primer and shot it with weld through primer.

Then, using the holes made for cleaning off the spot welds, I plug welded the brackets to the support.


You can see in that picture above that I have completely removed the 65 style radiator mount leaving holes where I drilled out the spot welds. I'll fill them in with the MIG for a finished final installation.
For my restoration, it's a lot better to replace a panel than to stitch a rusty old core support back together or pay a mint for a rust-free original only to find out it is rusty. I'm going to have the support blasted clean of the EDP to match the rest of the metal for finishing.


 With the dash removed:

 It should be stubbier like this one:
 If you are using this and want to keep the 65 style radiator mounts, you'll have to keep the original bracket and swap it over.
 I took an awl and scratched deep into the core support so that after removing the black primer from the support for welding, I'd still be able to find it.
 I used a cupped wire wheel to clean off the primer and shot it with weld through primer.

 You can see in that picture above that I have completely removed the 65 style radiator mount leaving holes where I drilled out the spot welds. I'll fill them in with the MIG for a finished final installation.


 Here's the front side of the crossmember repair after welding on the rear.
 I decided to remove the cab mount supports from the frame rails since I found so much rust behind where the factory spring cups were. I want to make sure the rust is completely cleaned off and out of the crevices before painting or powdercoating the frame. There wasn't a whole lot of rust behind them, but enough that I feel good about removing them to clean it all out. It will make cleaning them easier because I can use the glass bead cabinet rather than trying to work around them on the complete frame rail assembly.


 As you can see in this picture, I can't wait to clean up the garage a bit. It's gotten filthy with all the grinding and sanding.
 Clearly, I'm no pro welder, but the penetration is good and it grinds out fine.
 I had to go to a flight lesson before finishing the grinding. If you look at the bottom of the patch, it hasn't been ground yet. I will also weld it 100% from the rear too and grind that flush too.
 This patch is from the frame rail of another '66 F100 I parted out years ago, so it's Genuine Claycomo Ford steel in it.
 My welder was in a good mood.
 I cut off the flange and ground it flush for welding.
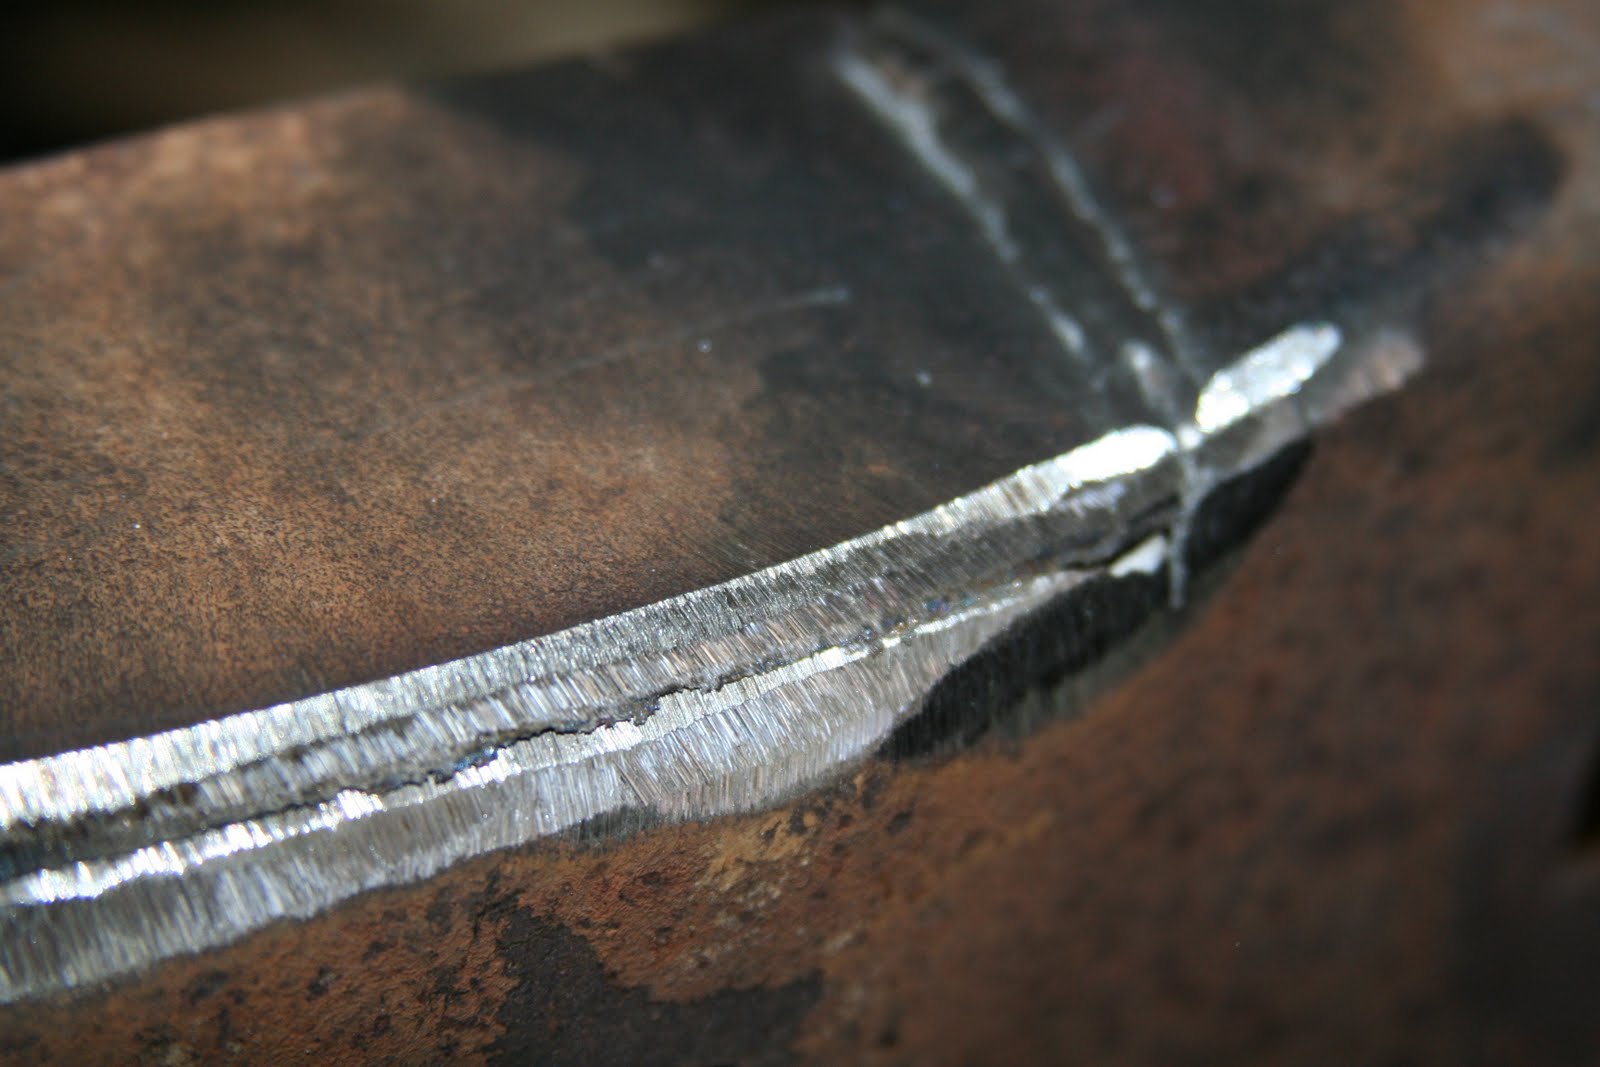
 The main suspension crossmember and engine cradle is a bear to remove. I started by cutting it out with a sawzall:
 Driver's side looking out from inside where the crossmember was. It was arc welded in at the factory and they did a decent job. Removing the last sections on each side was tough. I haven't ground off the old welds yet.
 The spring cup was riveted in and the rivets are a huge pain to remove.
 My next rust repair:
 Passenger's side with the crossmember removed but the spring cup is still in place:
 Spring cup removed:
 Both front rails when I went in for dinner. I'm almost done working this frame.
 Next, I'll remove the boxing steel where the old steering box was because I'll do my own boxing to support the new crossmember.