Sunday, October 24, 2010

Frame Repair Part 7

I hope to only have a few more frame repair updates, since there's not too much to look at. I started working my way toward the rear of the truck removing the crossmembers in the frame rails. I also located the front crossmember to the frame rails. It has two locating pins that are about 1" aft of where the centerline of the axles runs. They are just under 3/4" so I measured it all out and put two holes in the frame rails to get it lined up properly.


I also drilled the holes for the core support and lined it up to the frame. That core support is the reproduction for the 61-64 trucks but in a later post, I'll be adapting it to make it work.

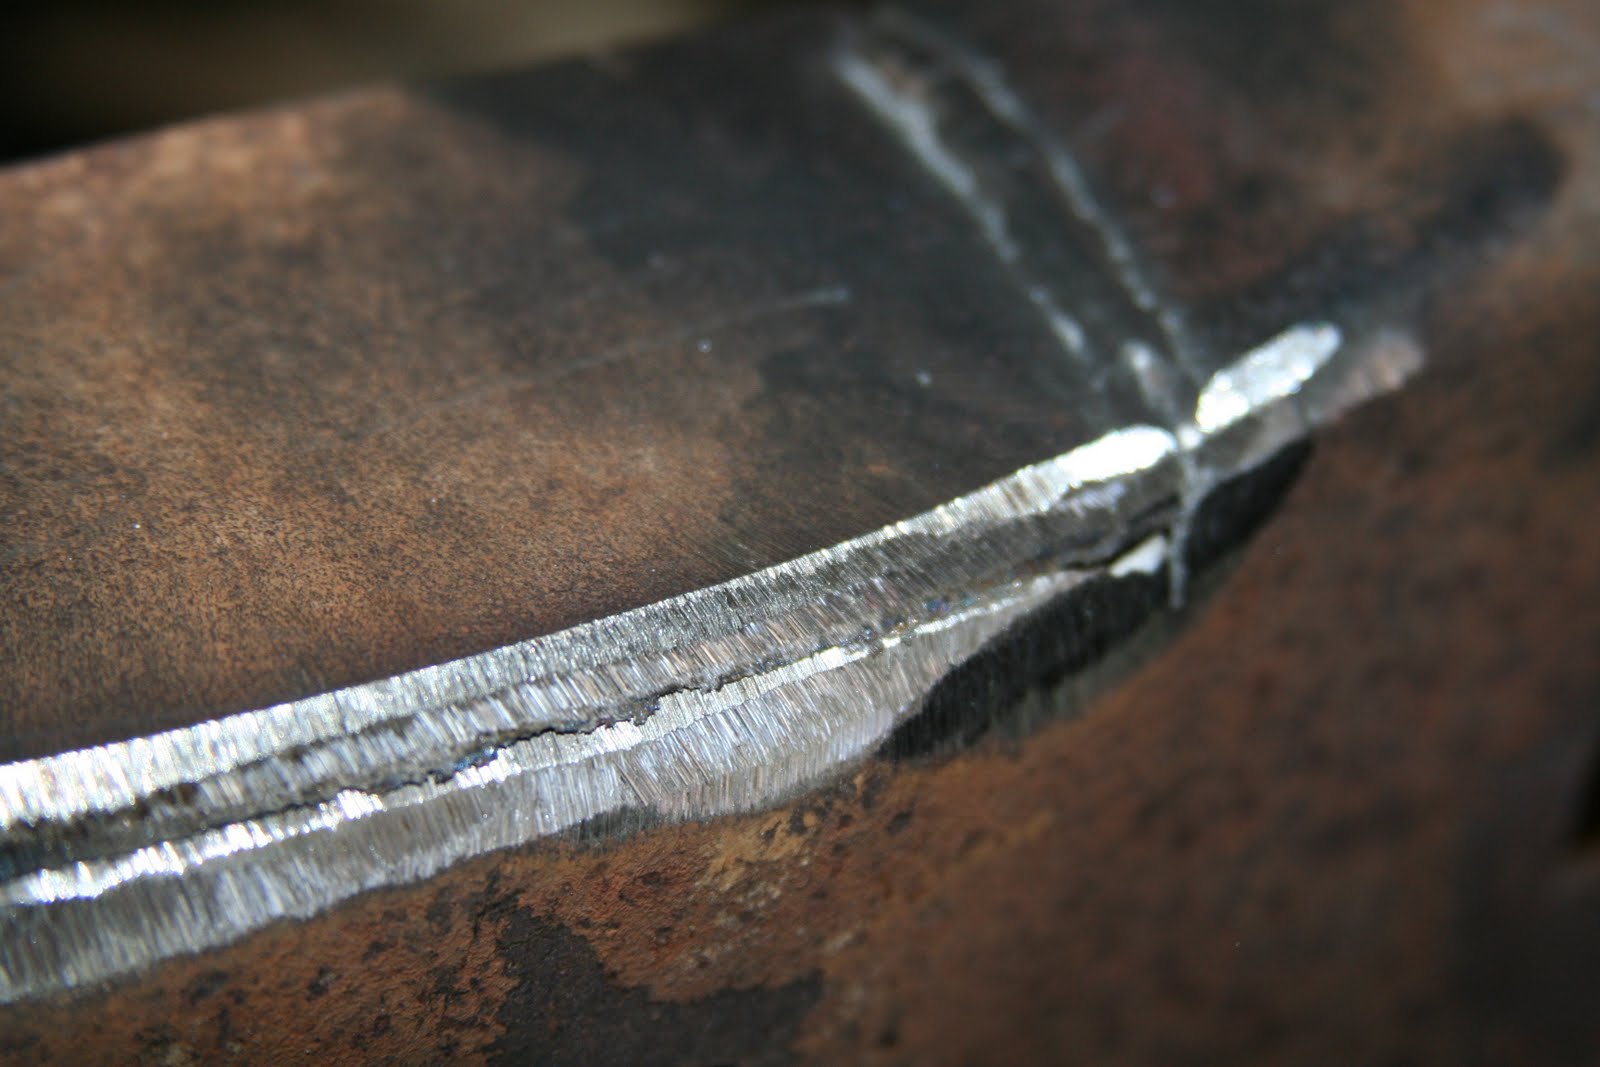
After I got that done, I started the process of de-riveting the rear of the truck. There are a bunch. I've found the best way to remove them is to cut them first with the sawzall and then grind off the remainder of the rivet. They are such a pain to remove but there is so much rust hidden between where the crossmembers meet the frame rails, so it just has to be done if this truck is going to last.

In the coming weeks, I'll be rebuilding the 9" rear, patching the frame rails in a few more places, modifying the core support for use in a '66, rebuilding the motor and hopefully getting this messy garage cleaned up a bit.

Monday, October 11, 2010

Frame Repair Part 6

I buttoned up some more repairs today by finish welding the undersides of the welds I previously made. I finished under the core support mounting tabs, behind the crossmember mounting areas and under the cab mount supports.
Here's the front side of the crossmember repair after welding on the rear.
I decided to remove the cab mount supports from the frame rails since I found so much rust behind where the factory spring cups were. I want to make sure the rust is completely cleaned off and out of the crevices before painting or powdercoating the frame. There wasn't a whole lot of rust behind them, but enough that I feel good about removing them to clean it all out. It will make cleaning them easier because I can use the glass bead cabinet rather than trying to work around them on the complete frame rail assembly.
These welds look sloppy, but they will finish out ok once I grind them down.
I also found my transmission. It is a TR3650 from a 2004 Mustang. I got a nice clutch, clutch fork, pressure plate and an aluminum Cobra Flywheel for next to nothing because the transmission grinds between 1-2. There was a recall on these transmission built from 2000-2002 where Ford changed the synchronizer assembly for 1-2 but by 2004, it should already have the good parts installed from the factory. My theory is that either the transmission is a 2000-2002 model and the seller didn't know (or didn't tell me), or that the previous owner just didn't have the clutch adjusted properly. Either way, it may need anything from a set of synchros to a full overhaul with a couple new gears. If it needs a full overhaul, I'll probably find a replacement for it.

Wednesday, October 6, 2010

Frame Repair Part 5

Admittedly, I need to work faster or work more at the same slow pace. This is the same repair as I just made on the driver's side. This time, the passenger's side wasn't nearly as bad, but I still replaced about 12" of frame.


I also got the first chance to mock up the the front crossmember for the first time so I have something to think about. From the first glance, it appears that the engine mounts are a little low, but this could be an illusion since the crossmember isn't flush with the bottom of the frame rails. Also, my intake is very tall, so I might need the extra room to fit the engine under the hood. I welded the back side of the driver's side patch.
As you can see in this picture, I can't wait to clean up the garage a bit. It's gotten filthy with all the grinding and sanding.

Tuesday, October 5, 2010

Frame Repair Part 4

This section of frame rail rotted out where the spring cup was sandwiched against the frame rail. I cut out the bad section and stitched a patch in, rather than just paste some good metal on top of the bad. I first ground both panels into a V at the joints so that I had a nice clean surface to fill with weld and more surface area for the weld to contact.
Clearly, I'm no pro welder, but the penetration is good and it grinds out fine.
I had to go to a flight lesson before finishing the grinding. If you look at the bottom of the patch, it hasn't been ground yet. I will also weld it 100% from the rear too and grind that flush too.

Friday, October 1, 2010

Frame Repair Part 3

Tonight, I finished the front frame rail where the core support bolts. I also removed the front crossmember and spring cups. It was a major undertaking. I went through countless sawzall blades and a couple grinding wheels. The rivets are very difficult to remove. I found more rust in the frame rail. I expected it on the driver's side because I could see it in the spring cup, but the passenger's side was a surprise. It will be easy to fix though.
This patch is from the frame rail of another '66 F100 I parted out years ago, so it's Genuine Claycomo Ford steel in it.My welder was in a good mood.
I cut off the flange and ground it flush for welding.
Very nice finish:
The main suspension crossmember and engine cradle is a bear to remove. I started by cutting it out with a sawzall:
Driver's side looking out from inside where the crossmember was. It was arc welded in at the factory and they did a decent job. Removing the last sections on each side was tough. I haven't ground off the old welds yet.The spring cup was riveted in and the rivets are a huge pain to remove.
My next rust repair:
Passenger's side with the crossmember removed but the spring cup is still in place:
Spring cup removed:
Both front rails when I went in for dinner. I'm almost done working this frame.
Next, I'll remove the boxing steel where the old steering box was because I'll do my own boxing to support the new crossmember.